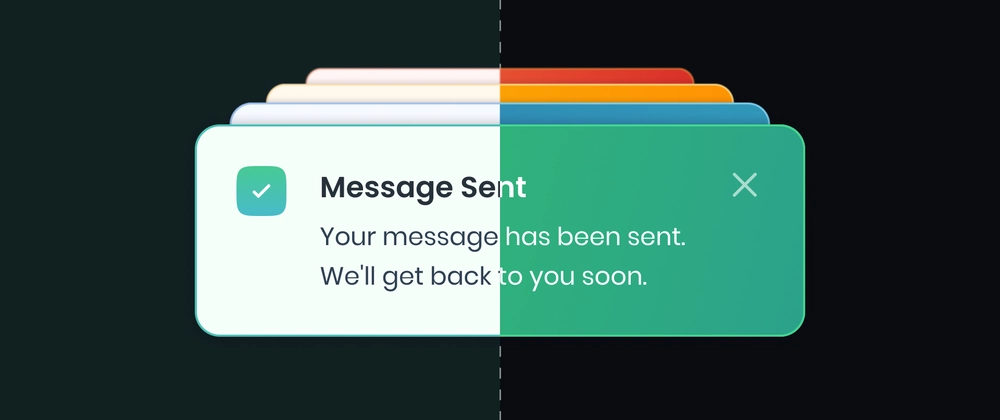
Toasts or toast messages is a UI pattern that exists on most apps out there. When we mention toasts in the web, the first instinct of most people is to reach for a library or an external package. I'm here to say that it's quite trivial to implement toasts in your web app.
All you need is a way to share state across pages. In React that is the context API. In Svelte it's much simpler than that. Since we can share and export state anywhere using the $state rune.
Let's create a class to hold our state. Bear in mind that the file name must end with .svelte.ts or .svelte.js in order for the Svelte compiler to detect our rune and make it work. In this case I named it toasts.svelte.ts
type Toast = {
type: 'info' | 'success' | 'error';
message?: string;
};
class ToastsBase {
values: Toast[] = $state([]);
add(toast: Toast) {
this.values.push(toast);
setTimeout(() => {
this.values = this.values.filter((t) => t.message !== toast.message);
}, 5000);
}
}
export const Toasts = new ToastsBase();Note that we don't need a class here. I just prefer to encapsulate the state and functions that change it into one object.
All we're doing is maintain an array and push values to it whenever someone calls the add method. In the add method we remove the toast message from the array after 5 seconds. A possible improvement here is to allow the user to determine the duration of the toast message.
Now that we have our state and logic, all we need is the UI to actually render a toast message. And since we need the toasts to be invocable from anywhere in the app, we need to render them in the root layout of the app. In a SvelteKit project, that's src/routes/+layout.svelte.
<script lang="ts">
import '../app.css';
import { Toasts } from '$lib/client/state/toasts.svelte';
let { children } = $props();
</script>
<div class="toast toast-end">
{#each Toasts.values as toast}
<div class="alert alert-{toast.type}">
<span>{toast.message}</span>
</div>
{/each}
</div>
{@render children()}All we're doing here is iterating through the array of toasts and rendering an alert for each one. I'm using Tailwind and DaisyUI for styling here. But this can be achieved using vanilla CSS. All you need is a container div with position: fixed; and the rest is down to preference.
And we're done. Now we can call Toasts.add anywhere in the code. For example, after a successful form submission:
const formOptions: FormOptions = {
onSubmission({ form }) {
if (form.valid) {
Toasts.add({ type: 'success', message: form.message });
}
},
};And we'll see a toast message rendered!
If you want a practical code/architecture review, book a quick call